












How to Change an Oil Separator Filter
Introduction: Is Your Air Compressor Losing Oil or Delivering Oil-Contaminated Air?
An oil separator filter plays a critical role in an oil-injected screw air compressor. It separates lubricating oil from compressed air, allowing the recovered oil to return to the lubrication system while delivering clean compressed air to downstream equipment.
However, over time, the oil separator filter gradually becomes contaminated. This can lead to increased differential pressure, excessive oil carryover, higher operating costs, and even unexpected compressor shutdowns.
Replacing the oil separator filter at the right time is essential for maintaining compressor efficiency and extending equipment service life.
So, how do you change an oil separator filter correctly?
In this guide, we'll walk you through the replacement process, explain common mistakes to avoid, and share practical maintenance tips.

1. When Should You Replace an Oil Separator Filter?
Before learning how to replace an oil separator filter, it's important to recognize the warning signs of a worn or clogged filter.
Here are some common indicators:
1. High Differential Pressure
As contaminants accumulate inside the separator media, airflow resistance increases. A noticeable rise in differential pressure may indicate that the oil separator filter needs inspection or replacement.
2. Excessive Oil Carryover
If excessive oil appears in the compressed air system, the separator may no longer be performing effectively. Damaged filter media, poor sealing, or an improperly installed separator can contribute to this problem.
3. Increased Oil Consumption
Frequent compressor oil top-ups may indicate that oil is escaping through the compressed air outlet rather than returning properly to the lubrication system.
4. Abnormal Operating Conditions
Unusual pressure readings, increased operating temperatures, or compressor alarms may also indicate a separator-related issue.
Maintenance Tip: Always follow the compressor manufacturer's recommended maintenance intervals. Actual replacement frequency depends on operating conditions, oil quality, air quality, and compressor design.
2. Tools and Preparations Before Replacement
Before replacing the oil separator filter, prepare the necessary tools and replacement parts.
Recommended items include:
- A compatible replacement oil separator filter
- Basic hand tools and wrenches
- Clean lint-free cloths
- Appropriate protective gloves and safety equipment
- A new gasket or O-ring, if required
- The compressor manufacturer's maintenance manual
Important Safety Precautions:
Before starting maintenance:
- Shut down the compressor completely.
- Disconnect and lock out the power supply.
- Allow the compressor to cool.
- Fully release internal pressure according to the manufacturer's instructions.
- Confirm that all pressure gauges indicate zero.
- Make sure the system cannot restart unexpectedly.
Never attempt to remove an oil separator filter while the compressor is pressurized.
3. How to Change an Oil Separator Filter: Step-by-Step Guide
The exact replacement procedure depends on the compressor model and separator design. The following steps provide a general reference for common oil-injected screw compressors.
Step 1: Shut Down and Depressurize the Compressor
Turn off the compressor and isolate it from the power supply.
Wait until the system has cooled down and all internal pressure has been safely released. Verify zero pressure before opening the separator housing.
Step 2: Locate the Oil Separator Filter
Open the compressor access panel and locate the oil separator assembly.
Depending on the compressor design, the separator may be installed inside an oil tank or mounted in a dedicated separator housing.
Check the equipment manual if you are unsure about its location.
Step 3: Remove the Old Oil Separator Filter
Carefully remove the relevant pipes, fittings, or retaining components according to the manufacturer's instructions.
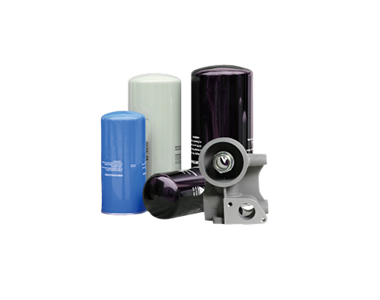
For spin-on designs, use an appropriate filter wrench. For tank-mounted or internally installed separator elements, remove the cover and retaining components as specified.
Take care not to damage the sealing surfaces or internal components.
Step 4: Inspect the Housing and Components
Before installing the new filter, inspect the separator housing.
Pay particular attention to:
- Dirt, sludge, or oil deposits inside the housing
- Damaged sealing surfaces
- Worn or hardened O-rings and gaskets
- Blocked or damaged oil return lines
- Loose fittings or other abnormal conditions
Clean the housing using an appropriate method recommended by the compressor manufacturer.
Step 5: Install the New Oil Separator Filter

Check that the replacement filter matches the original specifications, including dimensions, connection type, sealing structure, and filtration performance.
Carefully position the new oil separator filter.
Make sure all seals are correctly installed and the filter is properly seated.
For spin-on filters, follow the specified installation and tightening instructions. For internal separator elements, secure the retaining components according to the manufacturer's requirements.
Avoid excessive tightening, which may damage the sealing structure.
Step 6: Reassemble and Check Connections
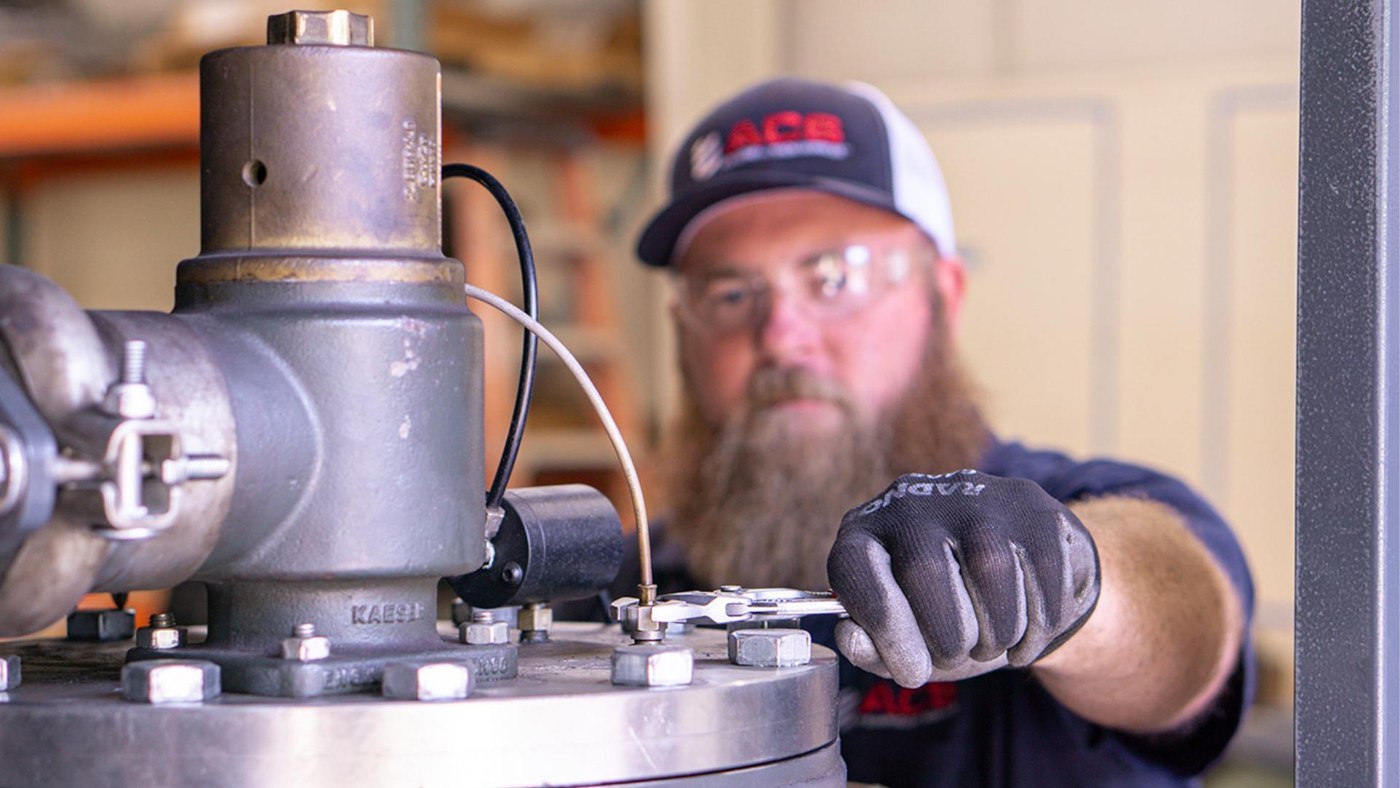
Reconnect all pipes, fittings, and other components.
Check that the oil return line is correctly connected and that no tools or foreign materials remain inside the housing.
Make sure all connections are properly secured.
Step 7: Restart the Compressor and Check Performance
After completing the installation, close all access panels and remove lockout devices according to your site's safety procedures.
Restart the compressor following the manufacturer's instructions.
Carefully check for:
- Oil leaks around the separator housing
- Abnormal pressure readings
- Excessive differential pressure
- Oil carryover in the compressed air
- Unusual noise or vibration
Record the initial differential pressure after replacement as a reference for future maintenance.
If abnormal conditions occur, stop the compressor and investigate before returning it to normal operation.
4. Common Mistakes to Avoid When Replacing an Oil Separator Filter
Even a straightforward replacement can cause problems if certain details are overlooked.
Here are four common mistakes to avoid:
1. Choosing an Incompatible Filter
A filter that looks similar may have different dimensions, sealing structures, or performance characteristics. Always verify the part number and technical specifications before purchasing.
2. Reusing Old Seals
Worn or damaged seals can cause leaks and allow unfiltered air or oil to bypass the intended separation process. Replace seals when required.
3. Ignoring the Oil Return Line
A blocked, damaged, or incorrectly connected oil return line can contribute to excessive oil carryover.
4. Focusing Only on the Replacement Interval
Operating conditions vary significantly between compressors. Replacing filters based only on a fixed time interval without considering differential pressure, oil condition, and operating environment may result in unnecessary maintenance or delayed replacement.
5. How to Choose the Right Oil Separator Filter
Selecting the correct oil separator filter is just as important as installing it properly.
Before ordering a replacement, consider the following factors:
- OEM Part Number: Confirm the original part number whenever possible.
- Dimensions: Check the overall height, diameter, and connection dimensions.
- Filtration Performance: Ensure the replacement meets the required separation efficiency and residual oil specifications.
- Differential Pressure: Consider the initial pressure drop and operating pressure requirements.
- Operating Conditions: Evaluate compressor type, operating temperature, lubricant, and working environment.
A properly matched oil separator filter helps maintain stable separation performance, reduce oil consumption, and protect downstream equipment.
6. Why Choose AIRPULL Oil Separator Filters?
Choosing a reliable filtration supplier can make a significant difference in compressor maintenance and long-term operating costs.
Since 1996, AIRPULL has focused on air compressor filtration and industrial filtration solutions, providing compatible replacement filter products for various compressor brands and applications.
Our product range includes:
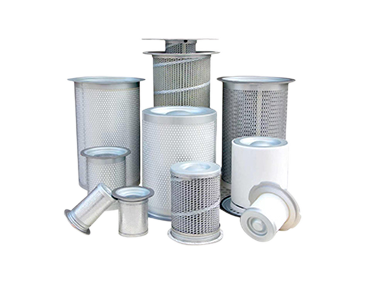
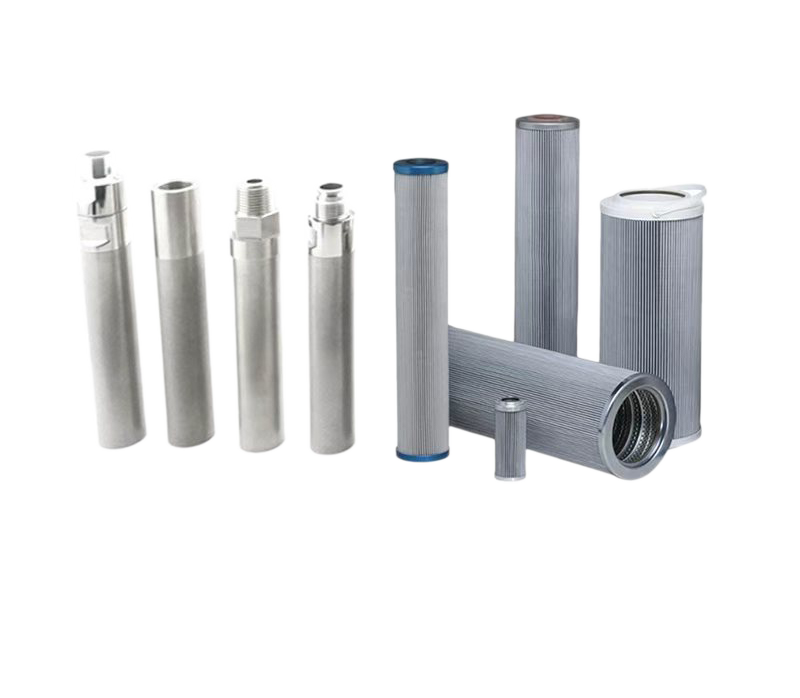
- Air Oil Separators
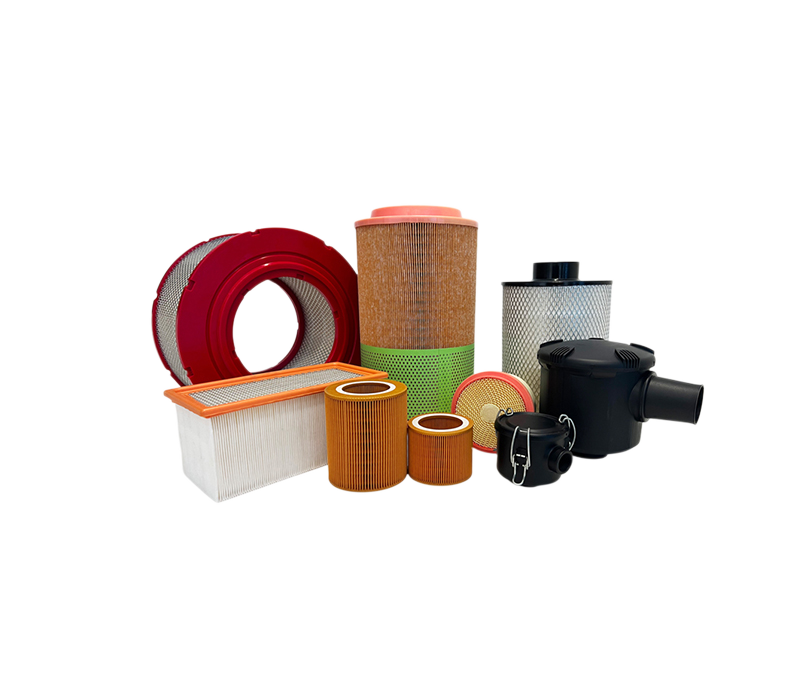
- Air Intake Filters
- Oil Filters
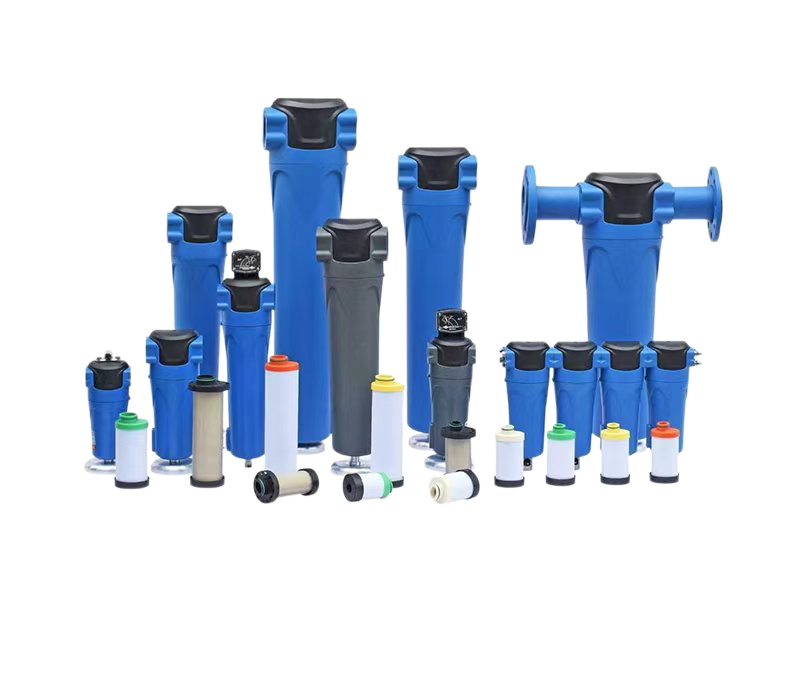
- Precision Filter Elements
- Industrial Filtration Products
With extensive manufacturing experience, modern production facilities, and a professional technical team, AIRPULL is committed to providing reliable filtration products and customized solutions for global B2B customers.
Whether you are an air compressor distributor, maintenance service provider, or industrial equipment purchaser, we can help you identify suitable replacement filters for your requirements.
Frequently Asked Questions
How often should an oil separator filter be replaced?
Follow the compressor manufacturer's recommended maintenance intervals, and take differential pressure, oil quality, air quality and operating conditions into account.
What causes oil carryover after replacing the separator?
Damaged filter media, poor sealing, an improperly installed separator, or a blocked and incorrectly connected oil return line can all contribute.
Can the old gasket or O-ring be reused?
Worn or hardened seals can cause leaks and allow unfiltered air or oil to bypass the separation process. Replace seals when required.
Conclusion
Changing an oil separator filter is an essential part of maintaining an oil-injected screw air compressor.
By following the correct replacement procedure, checking the sealing components, and selecting a compatible filter, you can help reduce oil carryover, maintain stable differential pressure, and improve compressor reliability.
Looking for a reliable oil separator filter supplier?
Contact AIRPULL today. Send us your compressor brand, model, or original part number, and our team will help you identify a suitable replacement solution.
AIRPULL – Compressed Air Filtration Since 1996.
Website: https://www.airpulltech.com